One of the most requested Google Sites features is horizontal navigation, which is why we’re happy to announce that it’s finally here along with a few other cool features.
Horizontal navigationYou can now add horizontal navigation to your site’s layout in one of three different flavors: boxes, tabs, and links.
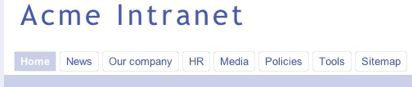


If you want to customize the look and feel of the horizontal navigation, you can set the background, link and hover properties via
More actions > Manage site >Colors and Fonts.
If you’ve been craving horizontal navigation, you can get started by going to
More actions > Manage site > Site layout > Change site layout.
Global footerYou can now set your site to have a global footer that displays across all pages on the site via More actions > Manage site > Site layout > Change site layout. Use this to add additional navigation and more.
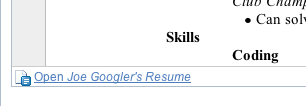
Open embedded Google Docs fasterWe’ve added quick links to Google Docs embedded to Google Sites making it easier for collaborators to open embedded documents.
 Deleted items
We also added a “Deleted items” section to site management making it easier to get to deleted pages and attachments. Deleted items can be recovered up to 30 days after they have been deleted, after which they will be permanently removed. You can recover items directly from this page, or choose to permanently delete them manually.
Looking forward to hearing about your experiences with these new features!
Posted by: Jennifer King, Software Engineering Intern, Google Sites


